Submitting a timesheet in Workday takes five steps: open the Time worklet, select the week, enter hours, review, and submit. This guide walks through the full process — and compares it side by side with automated time capture via a kiosk integration, so you can see where each approach works and where it doesn't.
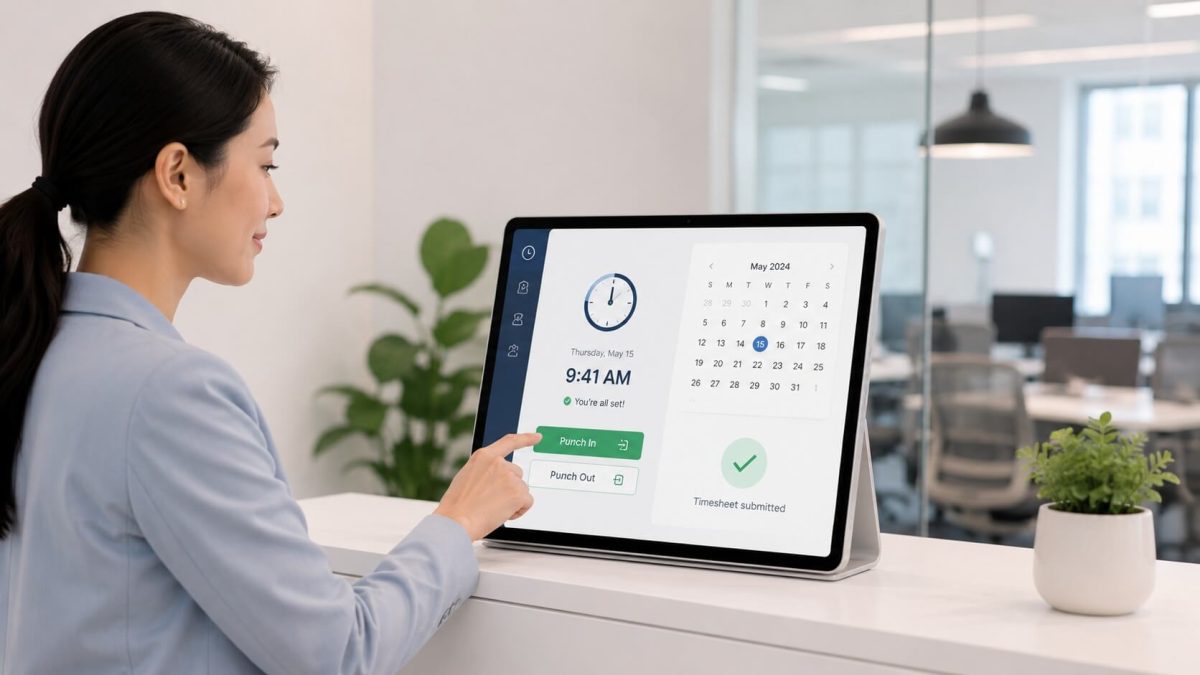
Table of Contents
- TL;DR
- The Manual Way: Submitting a Timesheet in Workday
- A Few Things Worth Knowing
- The Automated Way: How Time Capture Changes the Equation
- How a Kiosk-Based System Handles This Differently
- Side-by-Side: Manual vs. Automated Timesheet Submission in Workday
- Which One Is Right for Your Workforce?
- FAQ
To submit a timesheet in Workday, employees open the Time app, enter or review the week’s hours, and click Submit so the time routes to their manager for approval. For salaried office staff on a standard schedule, that takes two minutes. For hourly workers clocking in across multiple positions or locations, it involves more steps than it looks, and mistakes tend to show up in the next paycheck.

Below is the standard submission process step by step, followed by the same workflow with time captured automatically through CloudApper hrPad, a kiosk that sends punches into Workday, so you can see where the differences matter.
TL;DR
To submit a timesheet in Workday, open the Time worklet, enter hours for each day in the pay period, click Review, then Submit — once per week within the pay period. For organizations with hourly or shift-based workforces, kiosk-based systems like CloudApper hrPad automate the capture step entirely, syncing punch data to Workday in real time and removing the manual submission burden from employees who don’t have regular access to a computer.
The Manual Way: Submitting a Timesheet in Workday
This is the standard process for employees who enter and submit their own time in Workday.
Step 1 — Open the Time Application
From your Workday homepage, click the Time worklet. If it’s not visible on your dashboard, click Menu in the upper left corner and find it under the Apps list. You can also type “Enter My Time” in the Workday search bar to navigate there directly.
Step 2 — Select the Time Period
Under the Enter Time section, you’ll see three options:
- This Week — for the current week
- Last Week — for the previous week
- Select Week — for any other date range you need
Most employees use “This Week” throughout the pay period, then review and submit once all hours are entered.
Step 3 — Enter Your Hours
Once inside the time entry calendar, click on a day to log your hours. The Enter Time pop-up will appear. Fill in:
- Time Type — typically “Regular Hours” or another code your organization uses
- In / Out times — if your org tracks actual start and end times
- Hours — if your org tracks total daily hours rather than in/out punches
- Position — required if you hold more than one job in Workday
- Out Reason — “Out” for end of shift, “Meal” for a break
Click OK to save the entry. The time block appears on your calendar marked as Not Submitted.
Repeat this for each day in the pay period. If your schedule doesn’t change week to week, check whether your Actions menu offers an “Auto-fill from Prior Week” or “Auto-fill from Schedule” option — this can save significant time for employees on fixed schedules.
Step 4 — Review Your Time
Once all hours are entered, click Review (usually in the bottom-right area of the calendar). This brings up a summary of your total hours by time type for the pay period. Check that the totals look right before proceeding.
Workday will flag alerts here if something is off — missing hours relative to your scheduled hours, for example — but you can still submit even if alerts appear.
Step 5 — Submit
Click Submit. A confirmation window appears summarizing what you’re submitting. Click Submit again to confirm.
Your timesheet is now sent to your manager for approval. You’ll receive a Workday notification once it’s been reviewed. The status on your calendar entries will update from “Not Submitted” to “Submitted” or “Approved.”
A Few Things Worth Knowing
You need to submit separately for each week within a pay period: If your pay period is bi-weekly, that means two separate submission actions — one for each week. A common mistake is submitting week one and assuming that covers the full period.
Submitted time can be edited, but it resets the approval: If you realize you made an error after submitting, you can retract, edit, and resubmit — but it goes back to your manager for re-approval. Do this before payroll processing closes, or you’ll need HR to make a correction retroactively.
Your timesheet is locked once payroll runs: After a certain point in each pay period, Workday locks the timesheet for processing. If you miss that window, changes have to go through HR or payroll directly.
The Automated Way: How Time Capture Changes the Equation
The manual process above works fine for employees who sit at a desk, log into Workday regularly, and have a consistent enough schedule to know what to enter. It starts to break down for everyone else.
Hourly workers on rotating shifts may not always have access to a computer at clock-out time. Employees in manufacturing, healthcare, or warehousing typically don’t stop at a desk to enter their hours — they punch in and out at a shared terminal. If that terminal is just a badge reader or biometric clock writing data somewhere, those employees often still have to log into Workday separately to review and submit.
That gap — between where time is captured and where it has to be submitted — is where most timesheet problems come from.
How a Kiosk-Based System Handles This Differently
A tablet kiosk running CloudApper hrPad integrates directly with Workday. The employee authenticates at the kiosk — via facial recognition, QR code, or PIN — and their punch is recorded and synced to Workday Time Tracking in real time. The kiosk handles the capture side; Workday handles the record.
Here’s what that changes in practice:
Time is recorded at the moment it happens: There’s no manual entry step later, no relying on memory at the end of the week. The punch is accurate because it was made at the right time, in the right location, on the right shift.
Geo-fencing ensures location integrity: Employees can only punch in or out from within a defined physical boundary. This matters for organizations with compliance obligations around break times, overtime, or site-specific labor rules.
Employees can see their own data at the kiosk: Rather than logging into Workday to check hours or PTO balances, employees access that information at the kiosk where they already clock in and out. This is the piece that reduces the most helpdesk traffic in organizations with large hourly workforces — employees can verify their own time without involving HR.
Managers get cleaner data to approve: When time is captured automatically and synced in real time, managers reviewing timesheets aren’t wading through manual entries that may be partially filled in or entered days after the fact. Approvals are faster and discrepancies are easier to trace.
Side-by-Side: Manual vs. Automated Timesheet Submission in Workday
| Manual (Workday Native) | Automated (Kiosk + Workday Integration) | |
|---|---|---|
| Time entry | Employee enters hours manually at end of day or week | Punch recorded automatically at clock-in/out |
| Submission step | Employee must log in and click Submit each week | Data syncs to Workday in real time; no manual submission needed |
| Device required | Yes — computer or mobile phone with Workday access | No — kiosk handles capture; no individual device needed |
| Buddy punching prevention | None (unless org uses additional controls) | Facial recognition verifies identity at each punch |
| Location verification | None | Geo-fencing restricts punching to approved locations |
| Employee self-service | Available via Workday portal (requires login) | Available at kiosk — hours, schedule, PTO without a Workday login |
| Offline capability | No — requires internet connection | Yes — punches recorded locally and synced when connection restores |
| Best fit for | Office employees with individual Workday access | Hourly, shift-based, or deskless workers |
Which One Is Right for Your Workforce?
For salaried or office-based employees who log into Workday regularly, the manual process is workable. The steps are straightforward once you know them, and the auto-fill options cut down the weekly effort for people on fixed schedules.
The manual process gets harder to rely on as your workforce becomes more distributed, more hourly, or less connected to a personal device during the workday. The submission step alone — easy enough for a desk worker — is a genuine obstacle for someone finishing a 10-hour shift on a production floor.
If your organization runs Workday and has a meaningful share of workers in that second category, it’s worth evaluating whether the capture problem is better solved at the point of clock-in rather than after the fact.
Related reading in the Workday Help category:
- Why Employees Can’t See Their Hours in Workday — Admin Guide
- Time Clock Integration Between Workday Time Tracking & Payroll Systems
- Real-Time Time Clock Data Integration With Workday HCM & Payroll
FAQ
Q1: How do I submit my timesheet in Workday?
From the Workday homepage, open the Time worklet and select the current or previous week. Enter your hours for each day, then click Review to check your totals. Click Submit to send your timesheet to your manager for approval. You need to submit separately for each week within a pay period.
Q2: Do I need to submit my Workday timesheet every week?
Yes. Even if your pay period is bi-weekly, Workday requires a separate submission for each week within that period. Submitting week one does not automatically cover week two. Both weeks need to be reviewed and submitted individually before the payroll processing deadline.
Q3: What happens if I forget to submit my timesheet in Workday?
If you miss the submission deadline, your time may not be processed in that payroll run. Some organizations allow late submissions with manager or HR correction; others require a payroll adjustment in the following period. The safest approach is to submit at the end of each week rather than waiting until the pay period closes.
Q4: Can I edit a Workday timesheet after submitting it?
Yes, but you’ll need to retract the submission first. Once edited, the timesheet must be resubmitted and will go back to your manager for re-approval. This is only possible before payroll processing locks the period. After that point, corrections need to go through HR or payroll directly.
Q5: What is the Time worklet in Workday?
The Time worklet is the application on your Workday homepage that handles time entry, review, and submission. If it’s not visible on your dashboard, you can find it by clicking Menu in the upper left corner or by searching “Enter My Time” in the Workday search bar.
Q6: How do hourly or shift workers submit timesheets in Workday?
Hourly and shift workers typically clock in and out via a shared terminal or kiosk. If that kiosk integrates with Workday directly — as CloudApper hrPad does — their punch data syncs to Workday automatically, removing the manual submission step. Without that integration, workers still need to log into Workday separately to review and submit their entered hours.
Q7: What’s the difference between Not Submitted, Submitted, and Approved in Workday timesheets?
“Not Submitted” means hours have been entered but not yet sent to your manager. “Submitted” means you’ve clicked Submit and the timesheet is awaiting manager review. “Approved” means the manager has reviewed and accepted the timesheet, and it’s ready for payroll processing.

What is CloudApper AI Platform?
CloudApper AI is an advanced platform that enables organizations to integrate AI into their existing enterprise systems effortlessly, without the need for technical expertise, costly development, or upgrading the underlying infrastructure. By transforming legacy systems into AI-capable solutions, CloudApper allows companies to harness the power of Generative AI quickly and efficiently. This approach has been successfully implemented with leading systems like UKG, Workday, Oracle, Paradox, Amazon AWS Bedrock and can be applied across various industries, helping businesses enhance productivity, automate processes, and gain deeper insights without the usual complexities. With CloudApper AI, you can start experiencing the transformative benefits of AI today. Learn More
- Useful Links:
- Agentic AI
- No-Code/Low-Code
- Custom Software
- HCM Personalization
- iPaaS
- FedRAMP
Brochure
CloudApper AI TimeClock
For accurate & touchless time capture experience.
Download Brochure
CloudApper AI Solutions for Workday



- Works with








- and more.
Similar Posts

Workday Biometric Time Clock Compliance: Consent, Retention, and Deletion Rules…

Workday Kiosk Security: Protecting Pay Slips and PII on Shared…